- Jan 27, 2021
- Jamie
- Heat Exchange, Industry, Servicing
- 0 Comments
Understanding typical shell and tube heat exchanger repairs
In part one of this series we discussed some of the broader considerations you’ll want to keep in mind when it comes to heat exchanger repairs. This will help ensure you are ready for any repair situation when it arises. In part two we’re covering the specifics of some of the more common repair jobs you’ll encounter when it comes to understanding typical shell and tube heat exchanger repairs. These can range from simple decontamination through to full re-tubing.
Knowing in advance what repairs entail and how they can restore your process to optimal performance means you’ll be ready to evaluate and move quickly on any advice or plans, and get back up and running as soon as possible.
It is worth noting that most repairs to heat exchangers involve pressure parts and come under the control of the Statutory Authority. You must ensure qualified personnel are carrying out the work, and that testing of the integrity of the repairs follows.
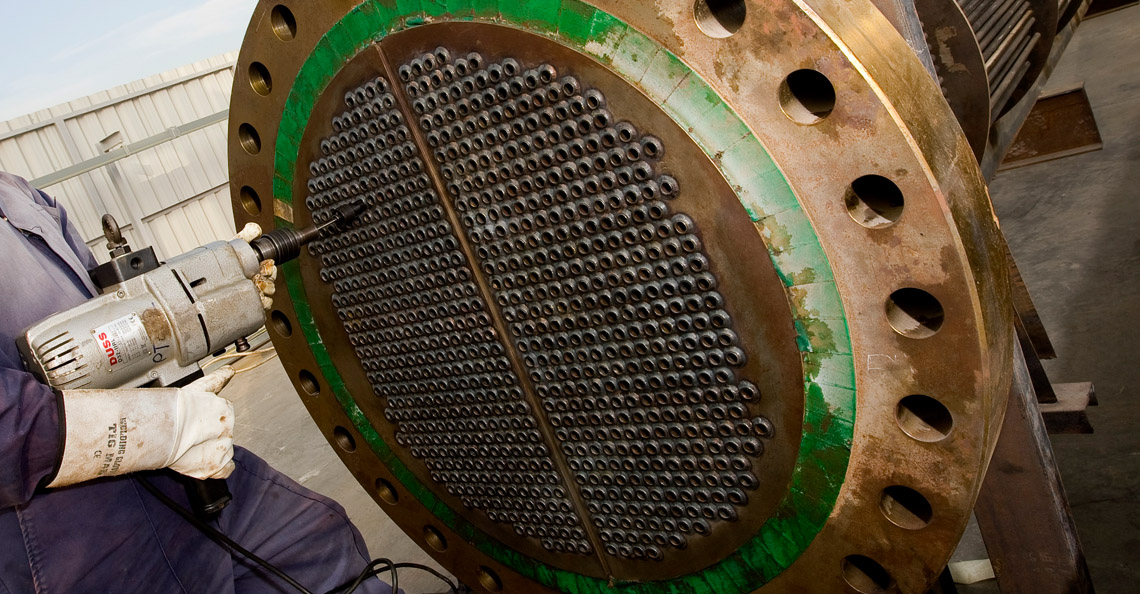
Tube to Tube Sheet Joint Repairs
This repair addresses leakage from a heat exchanger. This can occur for many reasons including:
- Failure of a poorly manufactured initial joint
- Excessive mechanical loads
- Relaxation of the tube materials
- Erosion or corrosion of the tube end and/or tube sheet
- Tube vibration
If an expanded joint has relaxed it is possible to reseal by expansion. Care needs to be taken as re-expansion can damage the tube or the tube sheet. Expansion limits need to be observed (especially with roller expansion). These limits are often expressed in terms of wall reduction.
When this type of repair is appropriate, Serck uses torque controlled expansion equipment to maintain uniform wall reduction, while preventing over expansion, which can lead to the deformation of the tubeplate and surrounding tube joints.
Welded Joint Repair and Other Tube-to-Tube Repairs
Welded tube-to-tube sheet joints are difficult to repair, and an issue here almost always indicates a case for replacement. Although welded joints can be re-welded, the root cause for the initial failure is not often addressed, and a re-weld becomes only a short-term fix. The conditions of repair welding are always less favourable than the original weld because of materials degradation and contamination over time. However, with Serck’s expertise , an effective weld repair can last almost as long as the original weld.
Other tube to tube sheet joints can be repaired by the application of specialist substances such as special adhesives such as Loctite or Epoxy or Rubber Coatings like Belzona.
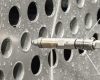
Tube Plugging
When individual tubes are leaking, a repair may be made by plugging the tube. Plugging can solve both tube leaks and tube joint leaks. However, it does render that tube unusable, and changes the overall flow volume through your exchanger. It’s only suitable when TEMA tolerances allow or a reduction in heat exchanger performance or total throughput is acceptable.
Because of this, tube plugging can be detrimental to continuing operation, and the number of plugs should be limited. But it can be another useful interim solution. By plugging an individual tube or tubes, the leaking damaged tube is isolated and it’s possible to maintain leak tightness at operating conditions whilst avoiding
- Damage to the Tube Hole
- Damage to the Surrounding Tubes and
- Damage to the Tube sheet
There are many different types of Tube Plugging from Single Taper Plugs which require a relatively high force to make the seal, to Expanding Plugs and Welded Plugs. Serck have the expertise to choose the correct plug for all repair requirements.
Re-tubing
The process of re-tubing is removing some or all of the old tubes and installing new ones, while maintaining the use of the original tube sheets and shell. Serck can re-tube in a workshop and even on site. Onsite re-tubing can be cost effective, especially if removing the exchanger from the plant is difficult and expensive. Fixed tubesheet exchangers can be re-tubed either through the tubesheets or by cutting the shell.
This repair is most often recommended when the current tube life is near its end, and/or when plugging of tubes has become excessive. An outage of sufficient length needs to be planned in order to carry out this work. But you’re ready for this, after having prepared via the steps in Part One of our repair guide.
As re-tubing is one of the more involved repairs, and usually done after some of the above repairs have been carried out, it does mean you are likely to encounter some of the impacts of the earlier failures that were able to be pushed down the line by the interim repairs. A re-tubing project can be compromised by Heavy Shell-side Fouling, Broken Baffles and Tie Rods, Broken Deformed Tubes and Worn Tubesheets.
We carry out many repairs, including re-tubing, and see this often. Serck’s engineering team will always discuss the risks involved and advise on counter measures to ensure all components can either be repaired or replaced to the original design specification during the re-tubing process.
Horses for courses
Any of the above repairs may be appropriate for your particular site or process, but all of them will have different impacts on downtime or outages, and budget. By understanding how each of these repairs impact the integrity of the shell and tube heat exchanger, as well as the system as a whole, you’ll be in the best position to choose both the right repair for you, and evaluate the right partner to carry out the work.
Serck’s service teams regularly support our clients with both on- and off-site shell and tube heat exchanger repairs of all sizes. If you need servicing or repair assistance, contact us today.


Recent Comments